Tsi Minn's Metal March calendar.

Firstly, i added the text "March" and also traced the lightning symbol which is representing the letter "R" in illustrator.

Then i add the first letter of the days and placed it under "March".

The next thing that i added was the dates in the month and placed them properly and orderly according to 2011 March's month.

Then i added the legend's name and copy paste another one, changed to opacity to 50% and placed it behind the first one.

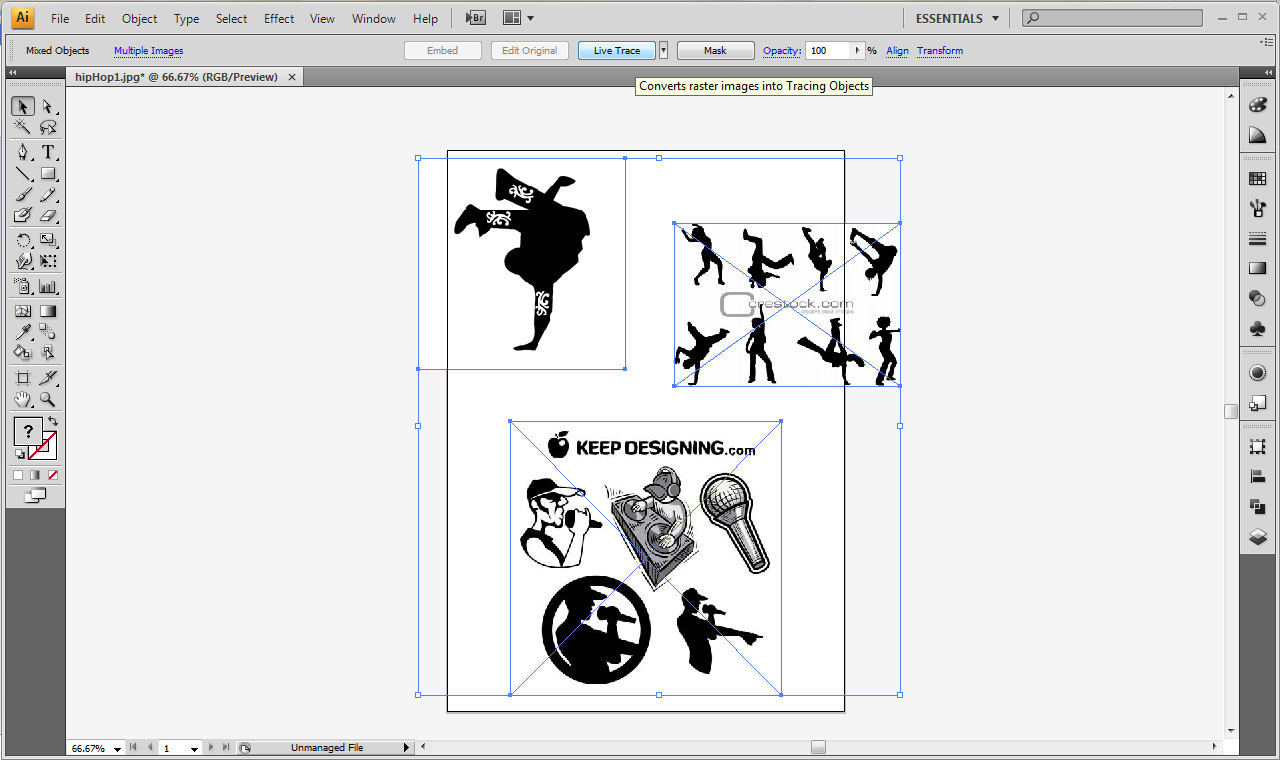
The next thing was i copied a picture from google and paste it in illustrator. Then i live traced it and it came out as the picture below.

Then i clicked expand and it came out as the picture uploaded below.

I ungroup the picture and deleted the border of the picture and then it became like the picture uploaded below.

Then i copy and pasted it to photoshop and placed it bottom left of my wallpaper.

As for my march calendar, i also copy and paste the picture, changed the opacity to 50%, expand it a little bigger and place it behind.

The next thing was to add the year in. I placed it right on top of my month and changed the colour to pink.

Background. I illustrated the background in illustrator. I first created the grey background and then use the line tool to draw lines in anyway and then pasted it in photoshop and this is the outcome of it.

Well, that's my Metal March calendar. Enjoy. :)


